Showing posts with label black currant. Show all posts

Tuesday, April 6, 2010

Greens in April!


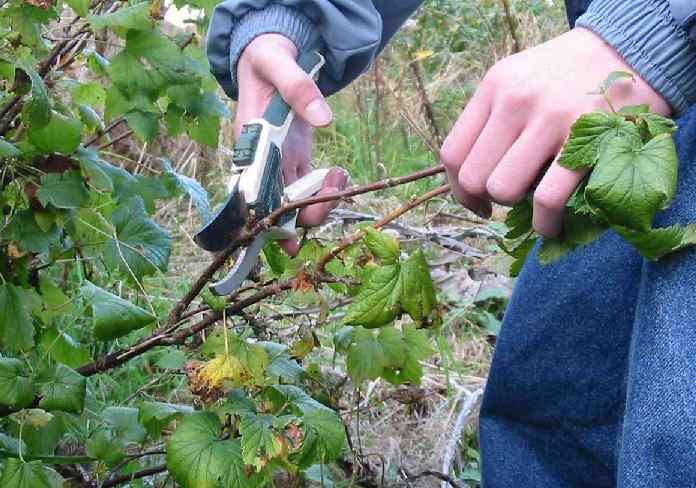
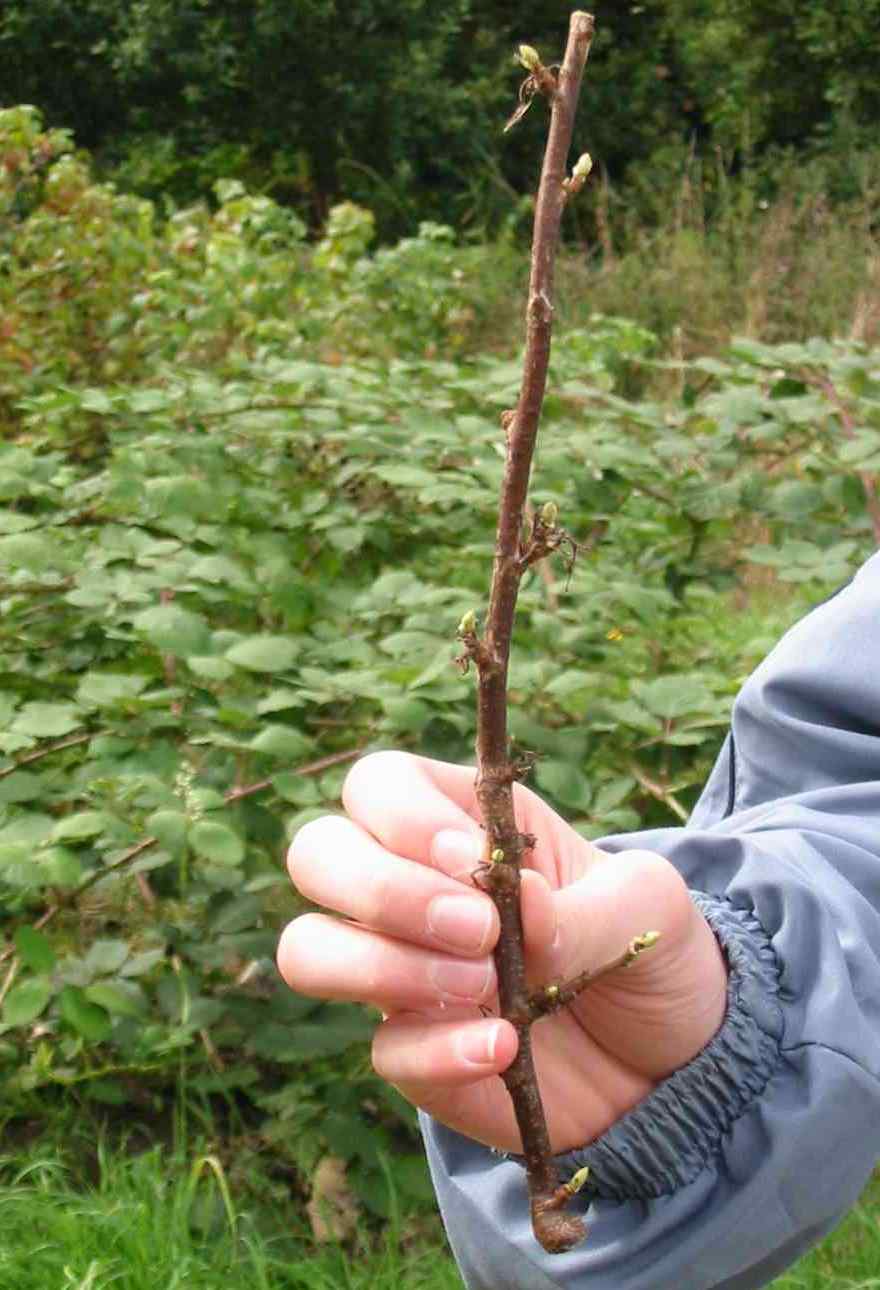
Evidence of spinach in April! My spinach and arugula, which were planted in March have sprouted and are currently about 2" tall. If this trend continues, we will have fresh greens ready to eat before Victoria day. Un.believe.able. I'm going to start beans this week under glass. On the negative side, it appears that my currant scions are no longer living. They still exhibit a bit of green in the bud, but they have not sprouted, unlike the mother plant which is nearby. We'll see about this as the days go on.
Here's to an early start!

Saturday, March 13, 2010

March Miscellany

It's March, and we've had a superb stretch of weather. The snow is completely off of our garden and the earth is bare. The loss of the snow has revealed that the little black currant scions that I cut off and planted last October have made it through the winter with buds intact. Here's a picture of one of them:


It doesn't look like much beyond a dead branch, but if you look closely you can see the buds with hints of green in there. We'll see how they progress. One other thing that I'm trying this year is a cold frame. Here's how it looks:


The idea behind the cold frame is that you use the sun's heat to warm up the ground enough to plant some colder weather vegetables and extend your growing season. I'm going to try to start some spinach next week.

Garden 2010

Tuesday, September 30, 2008

Propogating Black Currants

The time to propagate the bushes is when the foliage has stopped growing and is beginning to turn brown or falling off. A good time is mid-October although a couple of weeks later is almost as good. Take cuttings from healthy bushes only - ignore bushes with any signs of disease.


Select a healthy looking stem of ripened (brown not green wood) and cut a 25cm (10in) length.
The cut should be made just below a bud. Pull off all the leaves from the stem being careful not to remove the stem. The result should look like the picture below.


Dig a trench about 15cm (6in) deep and incorporate a handful of bonemeal into the removed soil. Place the cuttings into the trench making sure that at least two buds will remain above the soil surface and that there are four or more buds below the surface. Space the cuttings 20cm (8in) apart.
Fill in around the cuttings with the removed soil, being careful not to damage the buds below or above the soil. Gently firm the soil down around the cutting with your foot. Water the soil well. It is a good idea to mulch around the cuttings with well-rotted compost to conserve water.Leave the cuttings in the ground until October next year then dig them up with as much of their root ball intact as possible. Transplant them to their final positions as if they were bought from a nursery

Source: Garden Action UK

Monday, September 29, 2008

Fruit in our garden

Black Currant.